

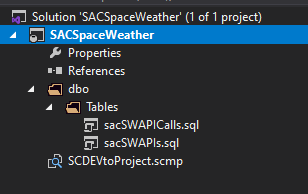
If you have read the Part I of this series you should have created a SQL Server Database Project that contains sql source code for the different objects of your database or your database project.
It should look like this:
Now you may want to have a proper version control of your files so you can track changes and work with other developers in the same project.
First step will be, if you haven’t done it yet, creating a new account in Azure DevOps and creating a new project in one of your organizations.
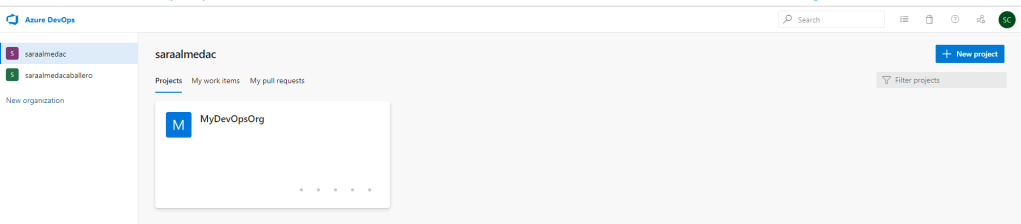
To create a project you select first the organization you want to create the project to and click in “New Project” button at the top right of the page.
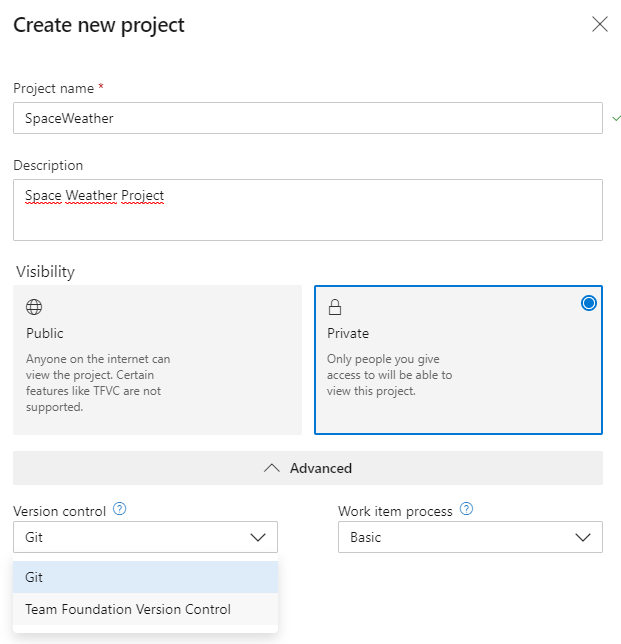
You need to give it a Project Name, Description and you need to confirm if it will be a public or private project.
If you decide to make your project public you are warned about some product limitations: “Certain features like TFVC are not supported”. But this does not seem to be correct, you can still have Team Foundation Version Control (TFVC) in a public project.
Microsoft warns us about the public project limitations in the following link. It would be good to have a look at it before we make it public. In general we can find out about Azure DevOps public projects here.
In this entry we will show you how to create a private project (so we can see all the functionalities) with TFVS. I plan to make some entries dedicated to Azure DevOps project with Git which is very powerful and interesting.
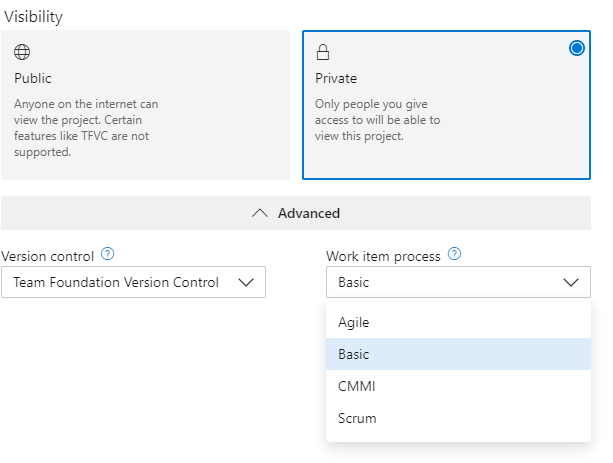
Also you will need to decide what process you are going to follow in your Work Items (tasks) as Azure will generate different process templates depending on your election. You can see the differences here.
When you have completed all the information, before creating the project, it should look like this:

Then click in Create and you are ready to connect to the project from Visual Studio Team Explorer.

If you come back to Visual Studio, open your SQL Server Database Project and click in Team Explorer tab then you will be able to connect to Azure DevOps as below:

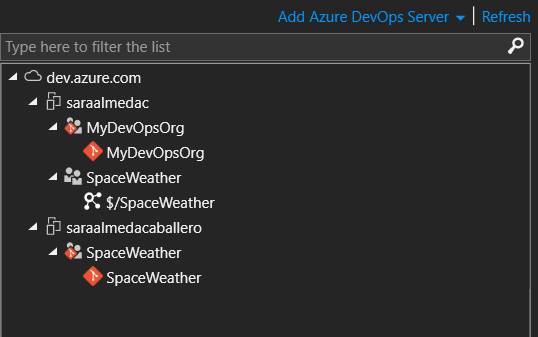

The icons in the project tree will show you the version control used.
Connect to the project and your Team Explorer will look like this

Click in “Map and Get” to sync the repository. You won’t have anything to synch in a freshly created project but if you are pulling an existing project with existing files in the repository the system will push the files to your local mapped directory.

Once the mapping has completed you can adding your files into source control. Go to Solution Explorer, right click in your project and select Souce Control>Add Solution to Source Control.

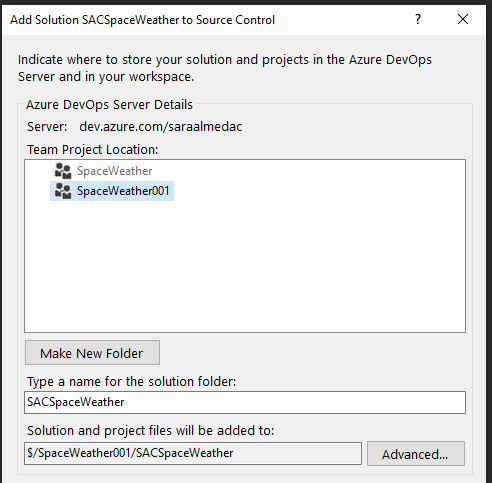
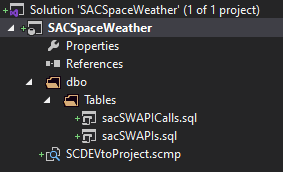
Select your project and voila!. You will see the green crosses in the files for the recently added code, as below:
But they are not checked in yet as you can see in Team Explorer > Pending Changes
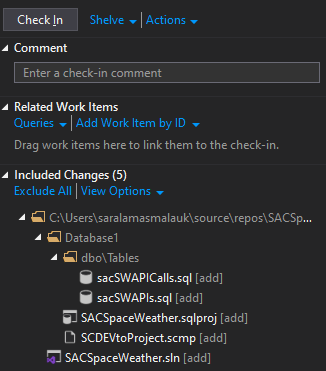
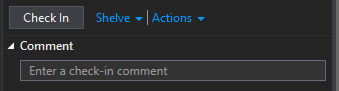
To publish your changes in the Azure DevOps repository (so it’s available for the rest of team members) you will need to Check In your code. Right click in your project again and select Source Control>Check In as below.


Once your code is checked in you will see the blue lockers besides de files as shown below

You will get a changeset number that will be visible in Azure DevOps now, under Repos>History

If you click in History you can see your changeset:

Anyone in your team could sync this project and add new code or modify existing objects.
Once your DB objects are updated you can continue recording changes in your Database Project and check them in when needed.
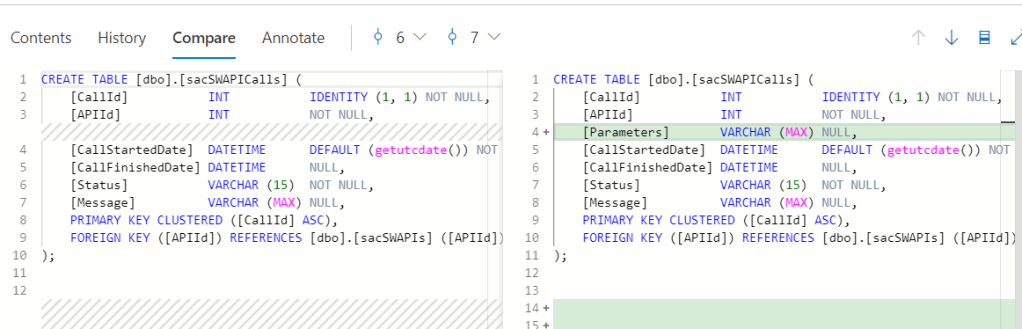
Azure will keep the history based on Changesets and users. You can see the file history and the code comparison.

If you click in Compare you will see the recent changes:
I hope you’ve found it useful. Please leave a comment if you would like to see some extenssions of this subject. Happy coding!.
